让代码能访问外网
众所周知,国内是没有办法直接访问外网的,而我们查东西很多时候都会用 Google 来进行搜索(百度的 SEO 不太友好,每次查对应内容,官网经常会在挺后面),比如使用 v2ray 等工具。
但是使用工具的话,代码也没法 fq,即使配置了系统代理。
这个还是写一个爬虫小工具时,看的一个 Python 爬虫库的原理,后面慢慢尝试才知道的。顺带一提,Python 比较特殊,可以直接访问外网。
问题复现(pipe 流式数据处理)
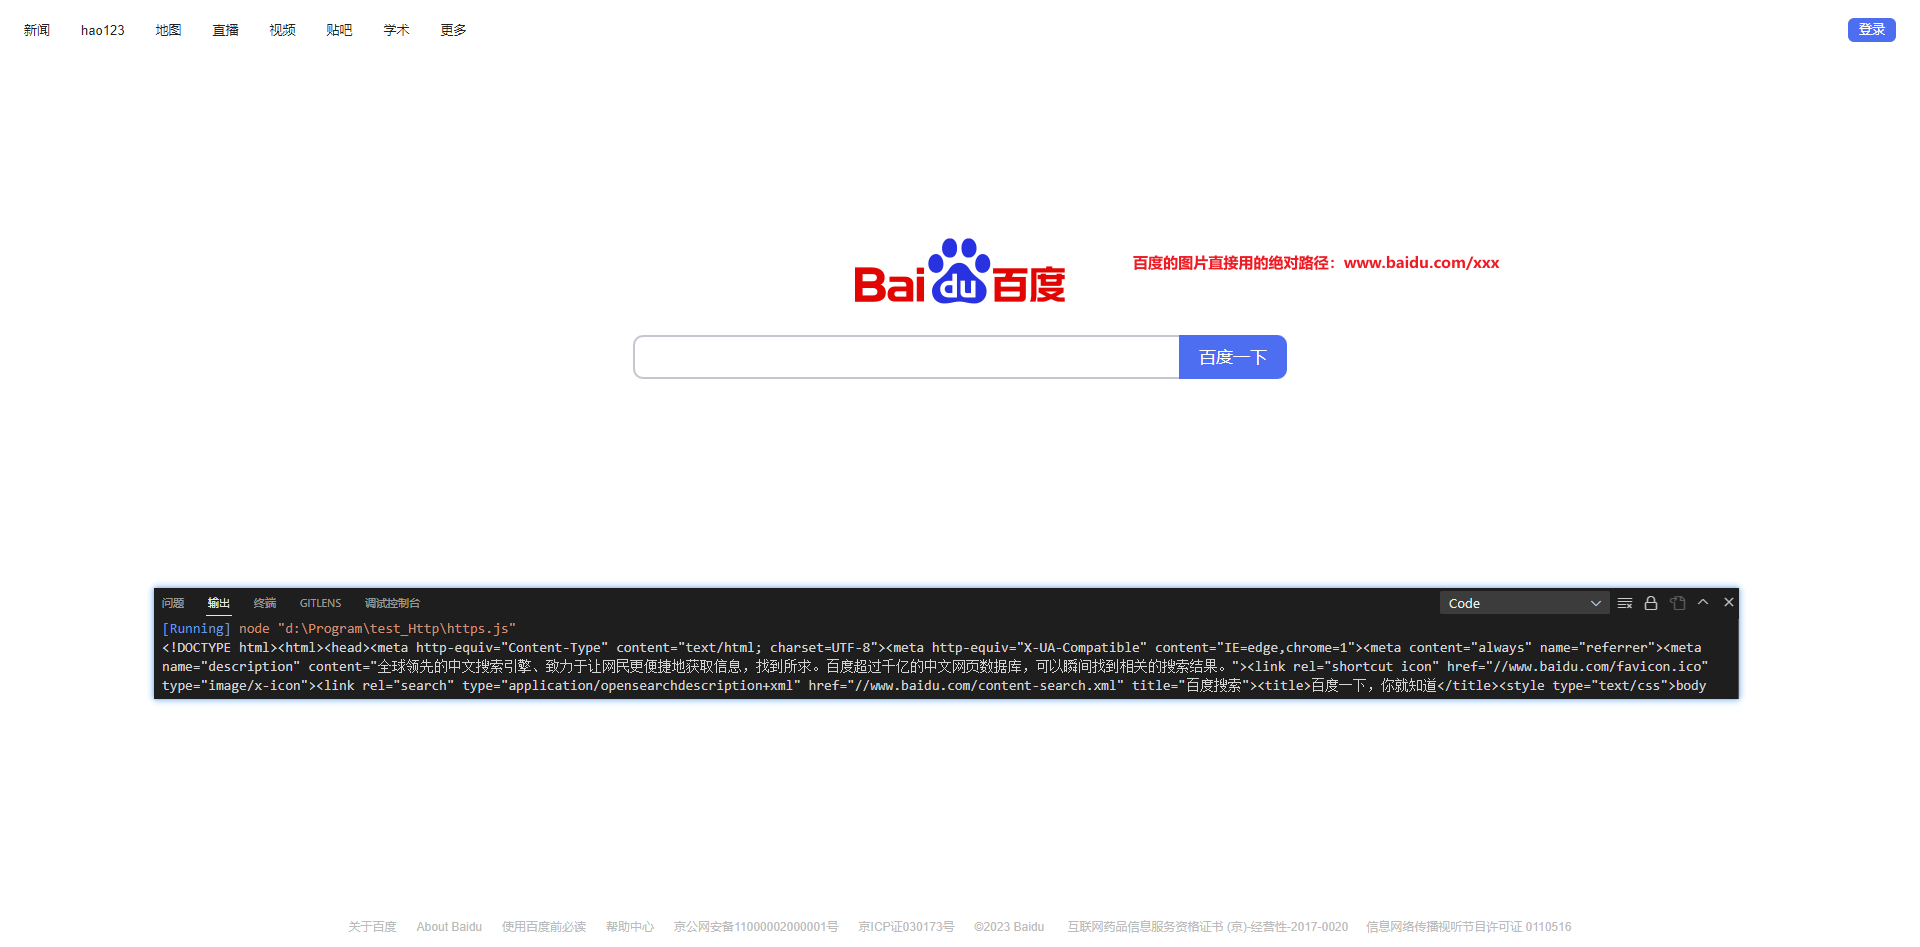
首先,使用https模块访问www.baidu.com,看看实际效果。
1 | |
上面使用
pipe方法的原因:
https模块的回调函数中的res对象是一个可读流,可以通过流式数据的处理方式处理响应体。而pipe方法是Nodejs中用于流式数据处理的一个方法,\color{red}{将可读流中的数据直接传递给可写流进行处理}。
res.pipe(process.stdout)则是将向响应体直接传递给标准输出流,即直接将响应体输出到命令行窗口中。process.stdout是一个可写流,可以将数据输出到终端。
效果:
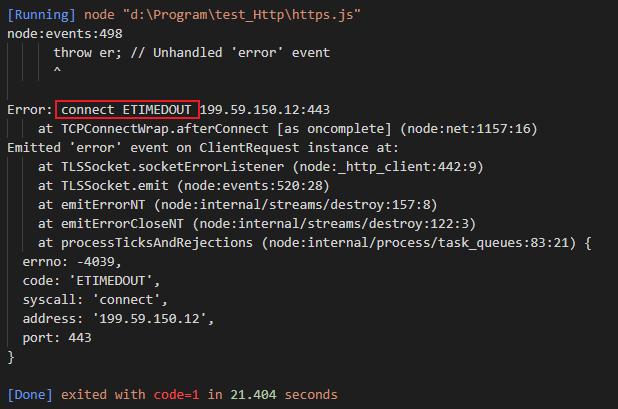
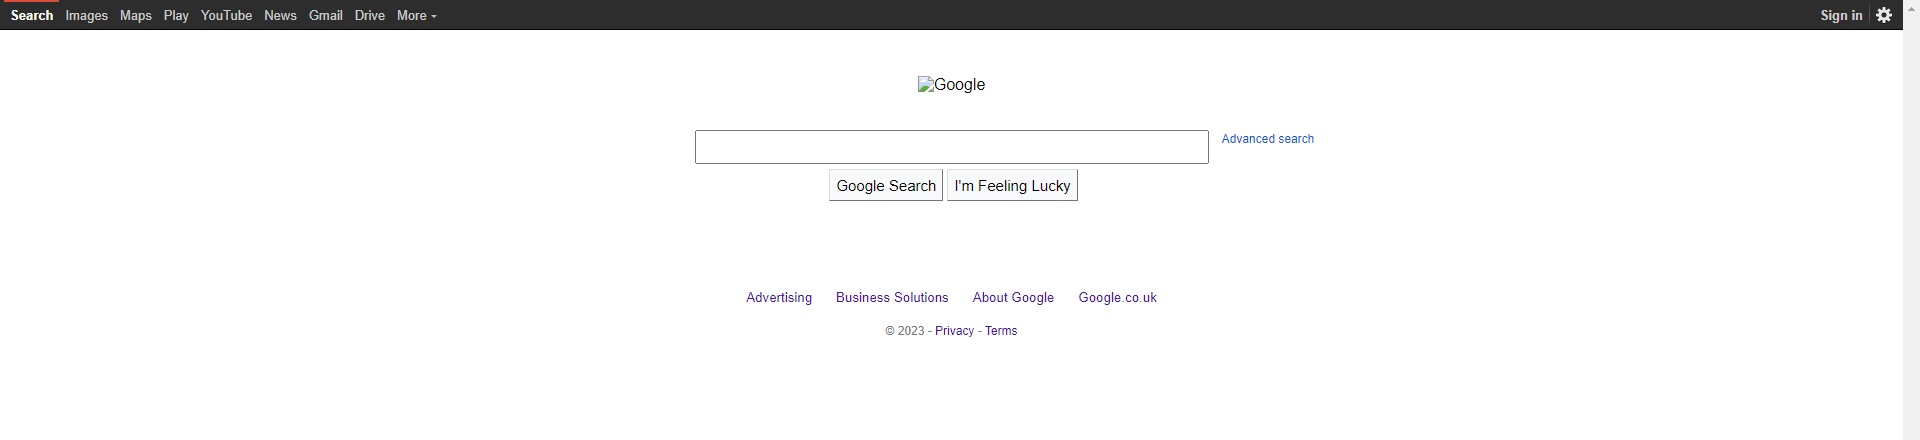
而将百度换成谷歌就会出现问题:(已经开了系统代理)
socks-proxy-agent
因为我用的是 v2ray 来代理的,所以就需要一个工具来实现使用 socks 代理来发送请求,这个时候就可以使用socks-proxy-agent库。
详细内容可以查看官方介绍:socks-proxy-agent
1 | |
因为我们需要配置代理(在代理里),所以就不能够像前面一样,
https.get的第一个参数应该是一个{ protocol: 'https:', hostname: '[www.google.com'](http://www.google.com'), ... }形式的对象,这样子配置代理只需要给这个对象添加agent属性即可,所以用到了url模块将 url 字符串转换。而
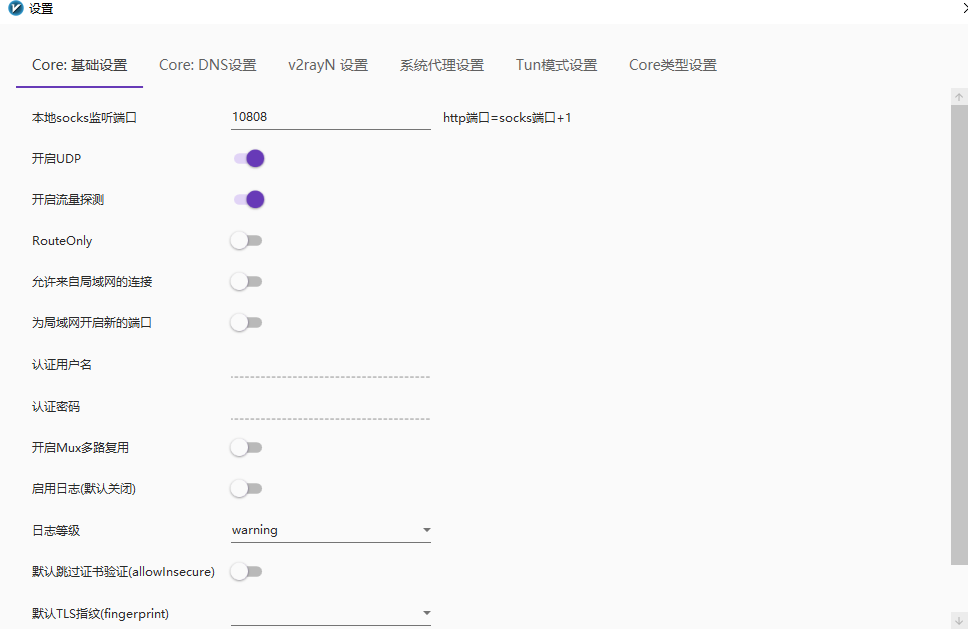
socks-proxy-agent的应用也很简单,引入SocksProxyAgent构造函数,并且将电脑上开的代理地址作为参数传给构造函数即可。因为我是本地开的代理,所以 ip 会是127.0.0.1,而端口则可以自己查看。设置 -> 参数设置
效果:
使用 webpack 的解决方案:(没测试过,感觉以后用得上,其他框架配置也类似)
解决 webpack-dev-server 由于网络问题出现 ETIMEDOUT-CSDN 博客
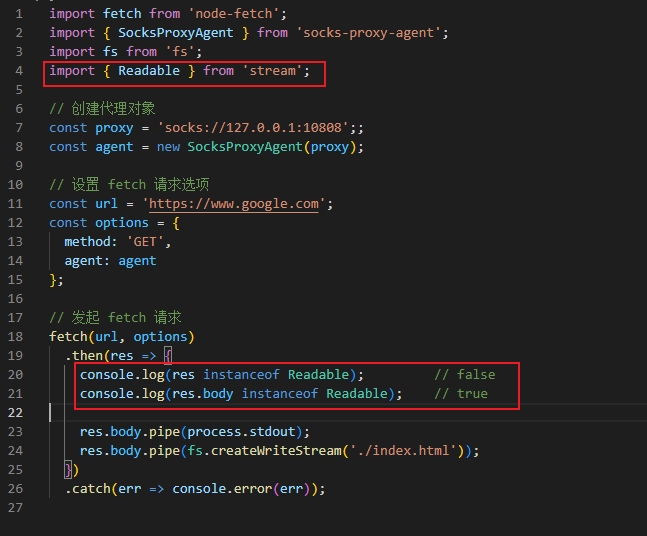
fetch 版本
1 | |
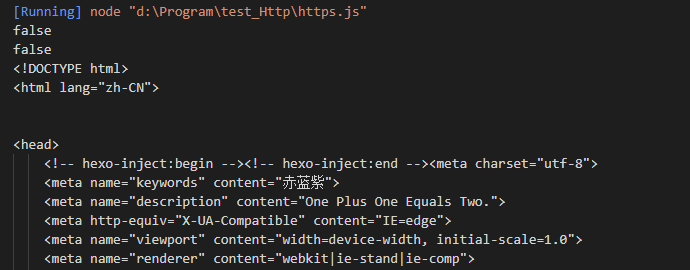
fetch版本的res对象并不是可读流,res.body才是,可以从stream中引入Readable测试。
Node18 内置 fetch
Node18 以及之后的版本中,都内置了 fetch api。但是,在浏览器环境下,fetch是不支持直接设置代理的,因为浏览器限制了跨域请求和安全性问题,不允许通过脚本设置底层网络层信息。而 Node18 之后内置的fetch API 也不支持直接设置代理。
可以使用
https模块或者使用node-fetch来设置。
浅尝一下内置的fetch API。
1 | |
需要注意:原生
fetch的res和res.body都不是可读流,所以需要用fetch的res.text()那一套来获取响应体。
更多
流 - 权威指南(貌似是浏览器端的,但是感觉挺有用的,记录一下。)