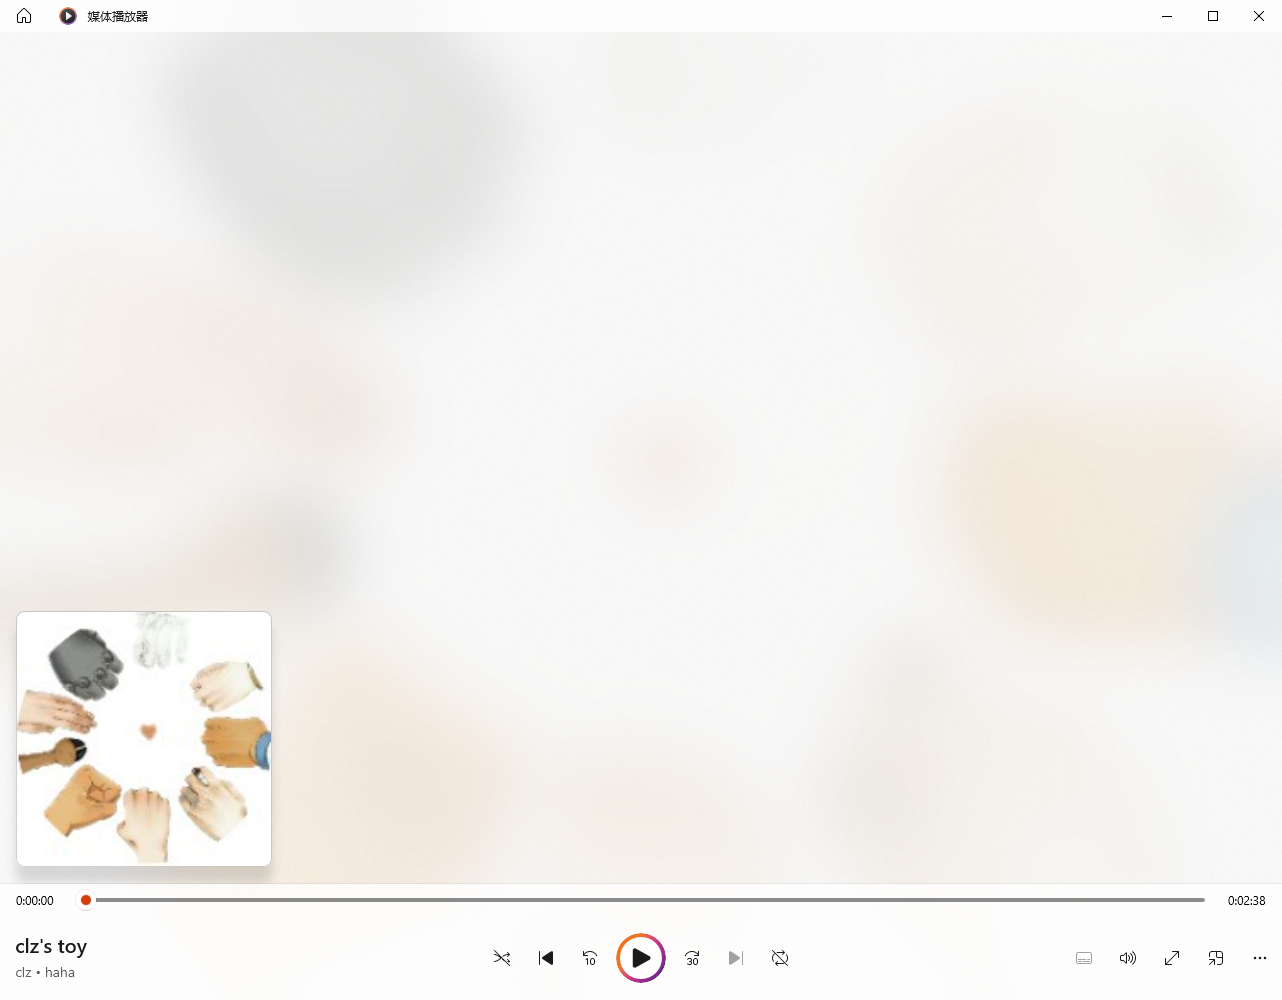
使用 node-id3 对 mp3 进行标签写入
前言
使用起来很简单,具体可以查看官方的README。这篇文章主要记录一下使用node-id3对 mp3 进行标签写入,包括图片插入。
$\color{red}{在网上看到,对 mp3 进行标签操作好像有可能会引起版权问题,所以仅供玩耍,不要玩火}$。
对 mp3 进行标签写入
1
2
3
4
5
6
7
8
9
10
11
12
13
14
15
16
17
18
19
20
21
22
23
24
25
26
27
28
29
30
31
32
33
34
35
36
37
38
39
40
41
42
43
| import path from "path";
import NodeID3 from "node-id3";
import fetch from "node-fetch";
const __dirname = import.meta.url.slice(8, import.meta.url.lastIndexOf("/"));
const getAlbumImage = async (imgUrl) => {
const res = await fetch(imgUrl);
const arrayBuffer = await res.arrayBuffer();
const imageBuffer = Buffer.from(arrayBuffer);
const image = {
mime: "image/jpeg",
type: {
id: 3,
name: "front cover",
},
imageBuffer,
};
return image;
};
const writeTagsToMp3 = async () => {
const tags = {
title: "clz's toy",
artist: "clz",
album: "haha",
image: await getAlbumImage(
"https://profile-avatar.csdnimg.cn/8540ebf7598f4057967727a8cb84474e_chilanzi.jpg"
),
};
NodeID3.write(tags, path.join(__dirname, "music", "b.mp3"));
};
writeTagsToMp3();
|


非 mp3 文件无法添加 tag
比如 m4a 文件,即使重命名为 mp3,并且也能使用媒体播放器进行播放,但是并不是 mp3,所以对它进行标签写入并没有效果。可以通过 ffmpeg 把它转成 mp3 格式。
1
2
3
4
5
6
7
8
9
10
11
12
13
14
15
16
17
| import ffmpegInstaller from "@ffmpeg-installer/ffmpeg";
import ffprobeInstaller from "@ffprobe-installer/ffprobe";
import ffmpeg from "fluent-ffmpeg";
ffmpeg.setFfmpegPath(ffmpegInstaller.path);
ffmpeg.setFfprobePath(ffprobeInstaller.path);
const toMp3 = (sourcePath, targetPath) => {
const command = ffmpeg();
command.input(sourcePath).save(targetPath);
};
|


